Ⅱ. Vagrantで開発環境を作る
0. Vagrantとは

Vagrantは、2010年にMichell Hashimoto氏によって作られてた開発環境を自動で構築するコマンドラインツールです。
Vagrantで構築する開発環境はVirtualBoxやVMWareといった仮想マシンを利用します。
仮想環境を用いることで、ローカル環境を汚さずに開発環境を構築することができるのがメリットの一つです。
また、仮想環境を用いることで、Linux、Mac、Windowsどのマシンを利用していていても統一した環境を構築できるのもメリットです。
もう一つのメリットとして、ChefやPuppetといったプロビジョニングツールを組み合わせることで、仮想マシン内で必要なミドルウェアのインストールや設定を自動で行うことが挙げられます。
Vagrantに関する用語の説明
プロバイダ (Provider)
Vagrantでは、仮想マシン上に環境を構築しますが、この仮想環境をプロバイダと呼びます。
プロバイダにはVirtualBox、VMWareのほかに、AWS(EC2)やRackspaceが使えます。
プロビジョニング (Provisioning)
サーバソフトウェアやDBソフトなどのミドルウェアのインストールや設定を行うことを指します。
デフォルトでシェルスクリプト、Ansible、CFEngine、Chef、Puppetをプロビジョニングツールとして利用できます。
また、プラグインをインストールすることで他のツールの利用もできます。
Boxファイル
仮想マシンを起動する際にベースとなるイメージファイルをBoxファイルと呼びます。
通常BoxファイルはOSイメージから作成し、Vagrantを利用する上で必要最低限な設定(Vagrantユーザの作成、sshdの起動、プロビジョニングツールのインストール)のみを行います。
ベースとなるBoxファイル + ミドルウェアのインストールや設定をプロビジョニングで行うことで、柔軟な開発環境の構築を実現します。
Vagrantfile
Vagrantを使って構築する仮想マシンのスペックやプロビジョニングツールの指定など、仮想マシンの構成を記述するのがVagrantfileです。
このファイルとプロビジョニングツールの設定ファイルがあれば、どの環境においても同じ仮想環境マシンを構築することができます。
1. Vagrantのインストール
1.1. Vagrantのインストール
Macの場合
以下サイトからインストーラ(vagrant_1.8.1.dmg)を入手する。
https://www.vagrantup.com/downloads.html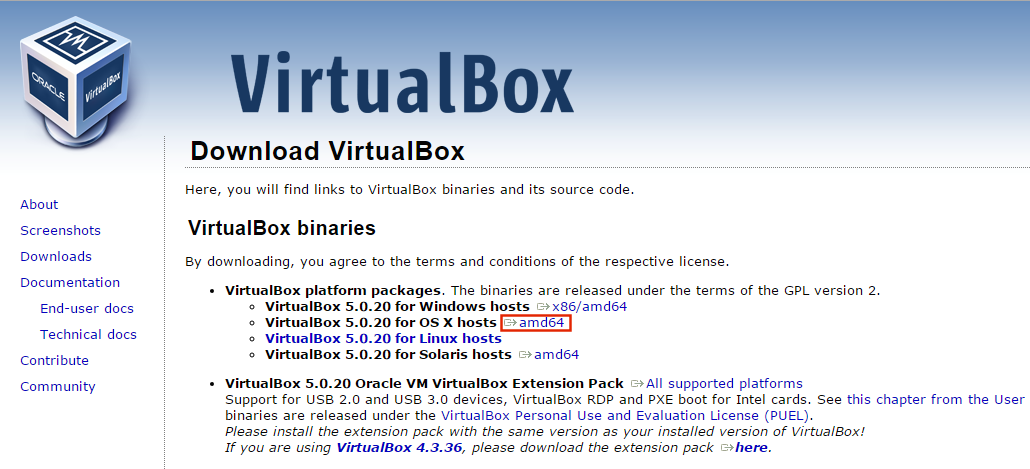
インストーラ(vagrant_1.8.1.dmg)を起動し、以下の手順でインストールする
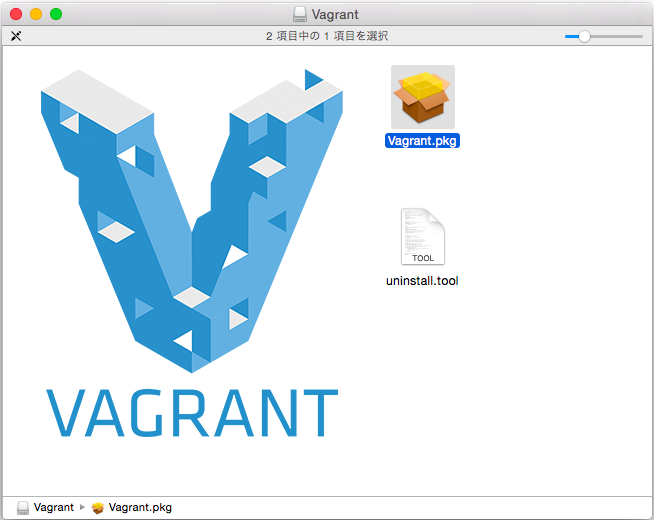
Vagrant.pkgをダブルクリック
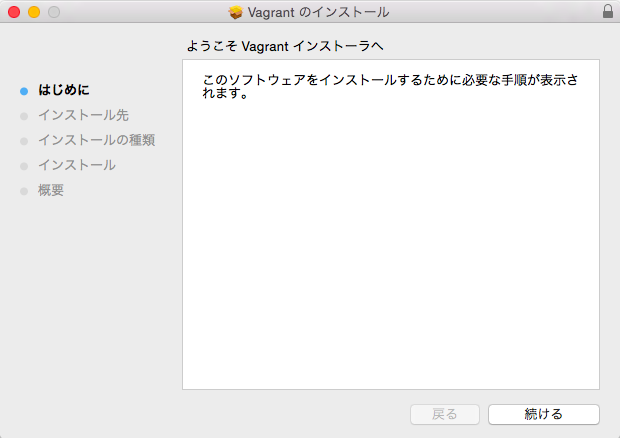
[続ける]ボタンをクリック
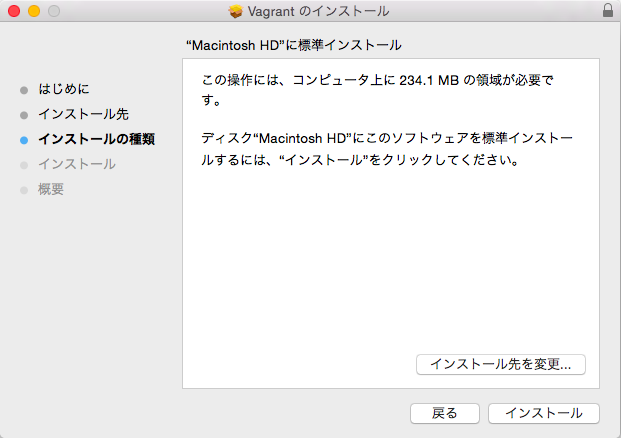
[インストール]ボタンをクリック(インストール先は特別理由がない場合デフォルトで)
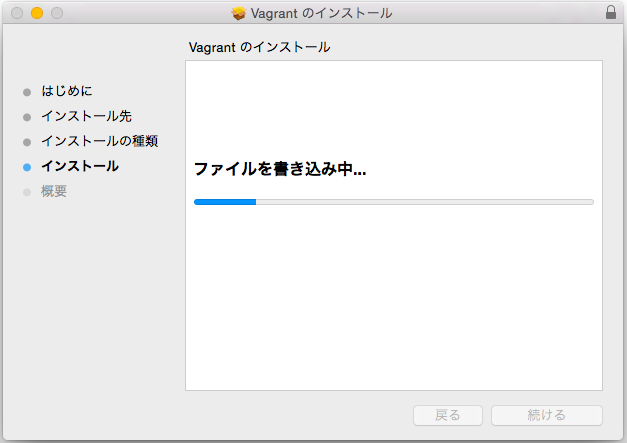
インストールが始まります
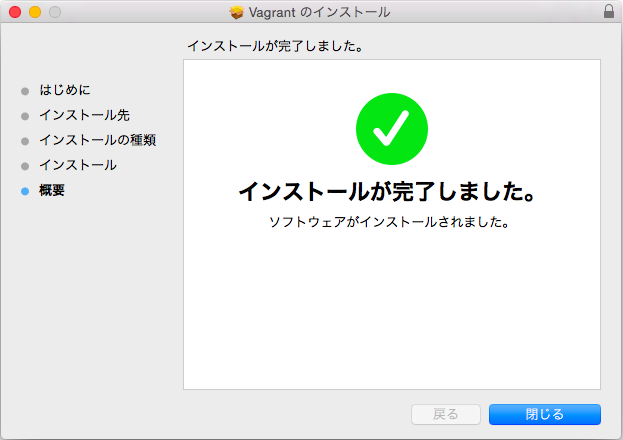
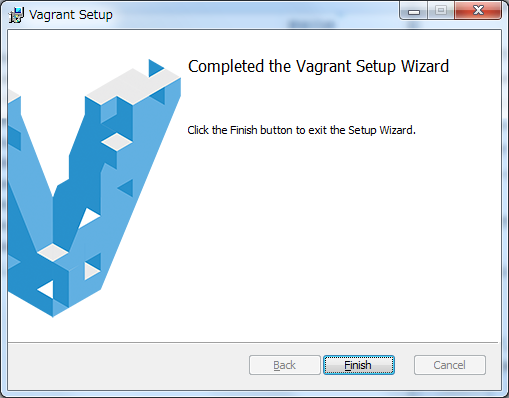
インストールが終了したら[閉じる]ボタンをクリックしてインストーラを終了します
動作の確認
ターミナルを開き、以下コマンドを叩く
vagrant -v以下のようにバージョンが表示されればOK
vagrant -v
Vagrant 1.8.1
Windowsの場合
以下サイトからインストーラ(vagrant_1.8.1.msi)を入手する。
https://www.vagrantup.com/downloads.html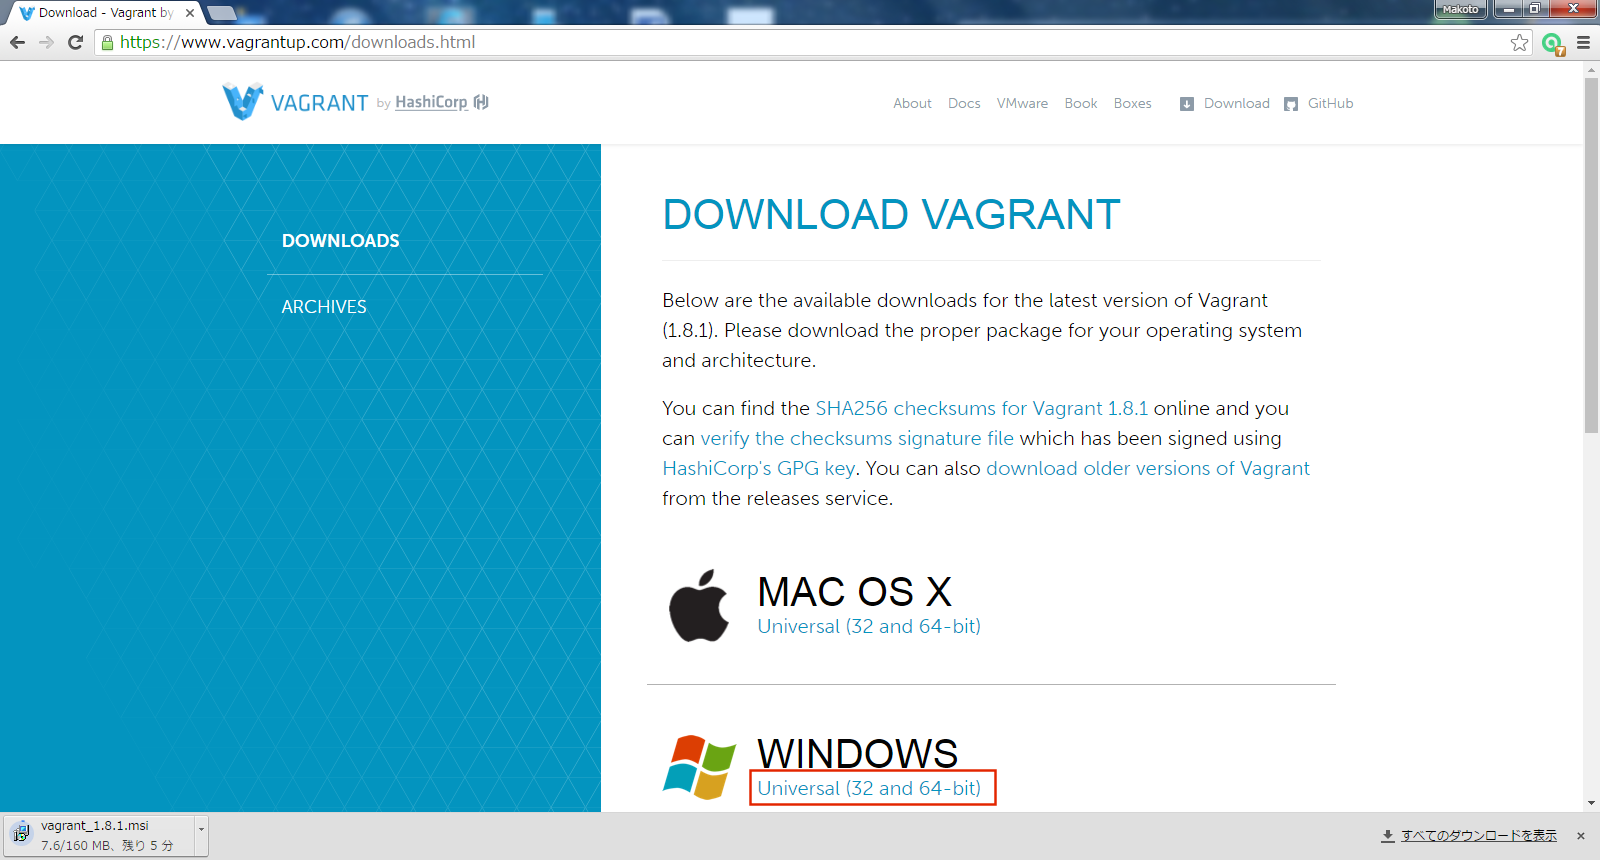
インストーラ(vagrant_1.8.1.msi)を起動し、以下の手順でインストールをする
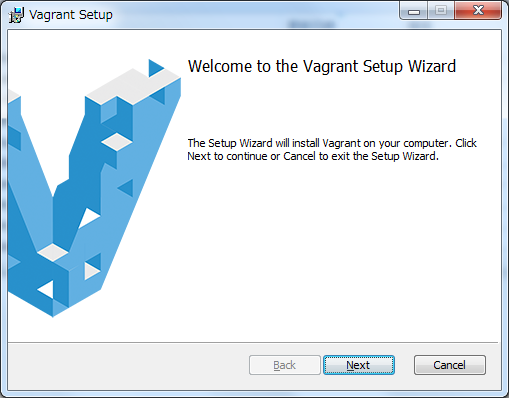
[Next]ボタンをクリック
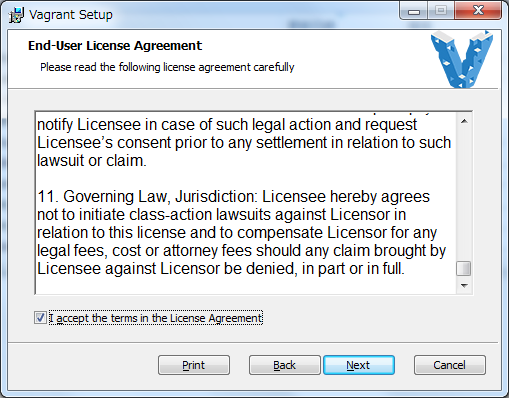
"I accept the terms in the License Agreement"にチェックを入れ、[Next]ボタンをクリック
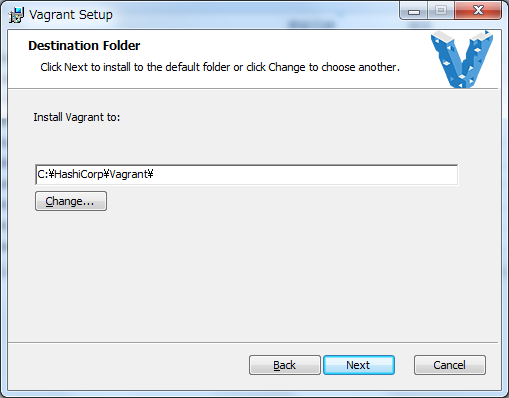
インストール先のパスを指定(特に理由がなければデフォルト)し、[Next]ボタンをクリック
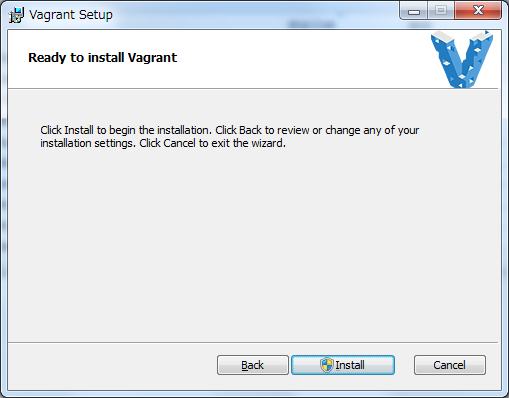
[Install]ボタンをクリック
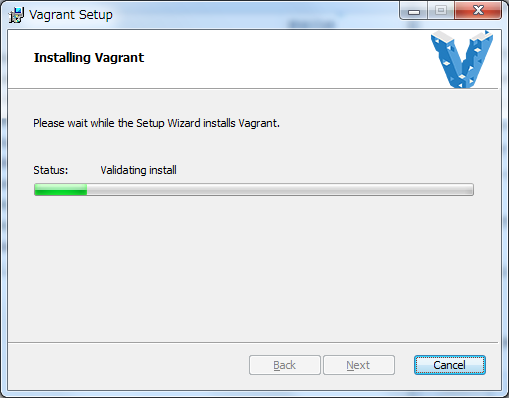
インストールが始まります。。。
[Finish]ボタンをクリックし、インストーラを閉じる
動作の確認
コマンドプロンプトを開き、以下コマンドを叩く
vagrant -v以下のようにバージョンが表示されればOK
vagrant -v
Vagrant 1.8.1
1.2. VirtualBoxのインストール
Macの場合
下記サイトからVirtualBoxのインストーラ(VirtualBox-5.0.20-106931-OSX.dmg)を入手する
https://www.virtualbox.org/wiki/Downloadsインストーラ(VirtualBox-5.0.20-106931-OSX.dmg)を実行し、以下手順でインストールを行う
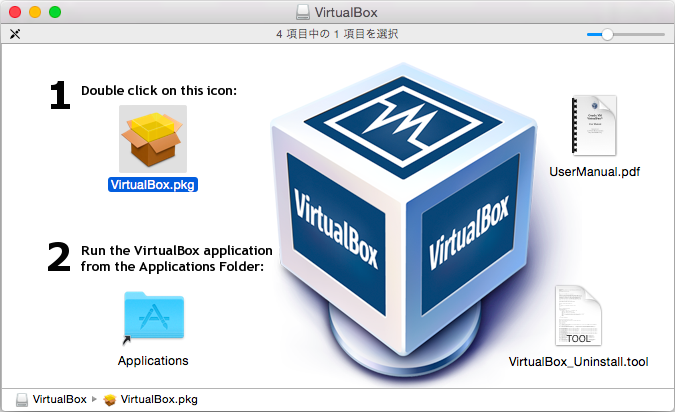
VirtualBox.pkgをダブルクリック
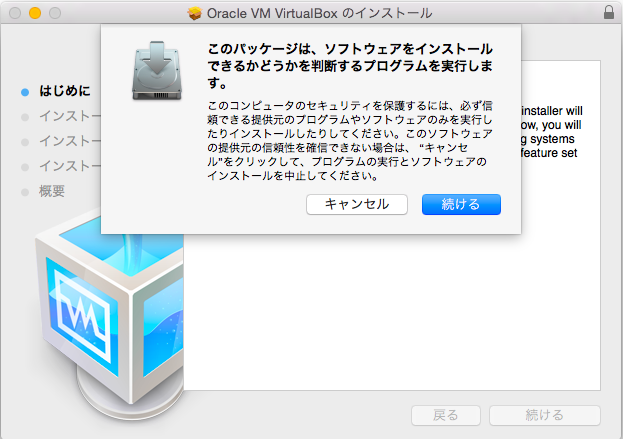
[続ける]ボタンをクリック
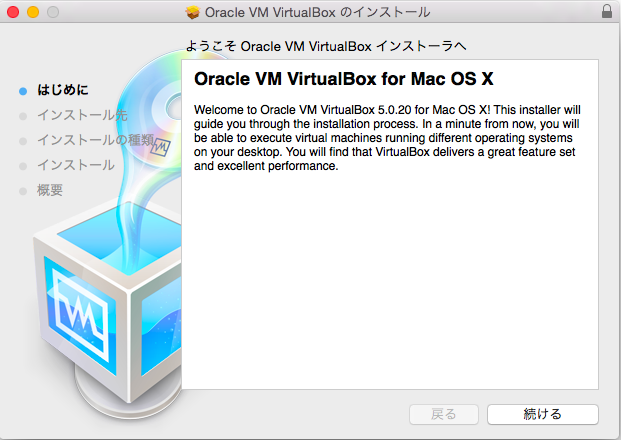
[続ける]ボタンをクリック
[インストール]ボタンをクリック(インストール先は特別理由がない場合デフォルトで)
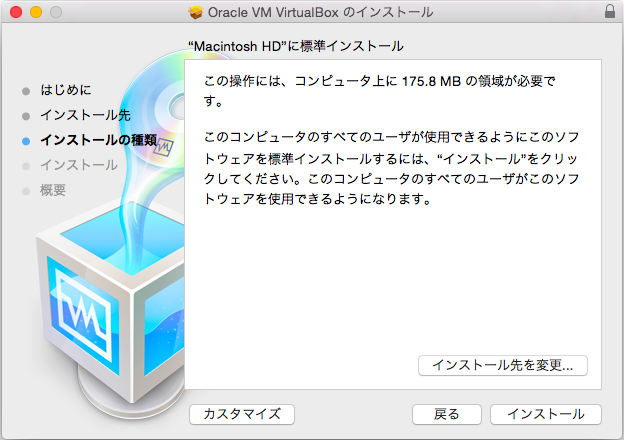
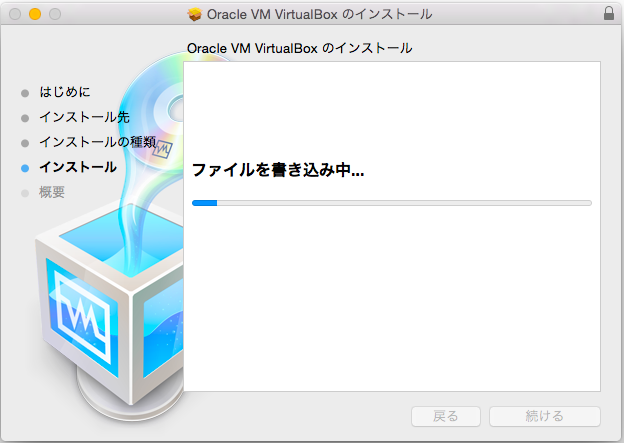
インストールが始まります
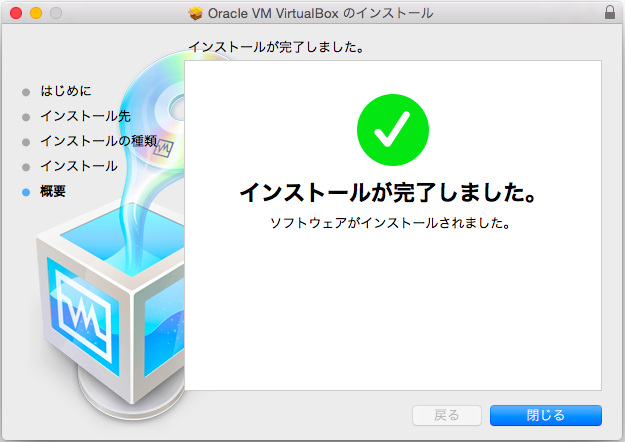
インストールが終了したら[閉じる]ボタンをクリックしてインストーラを終了します
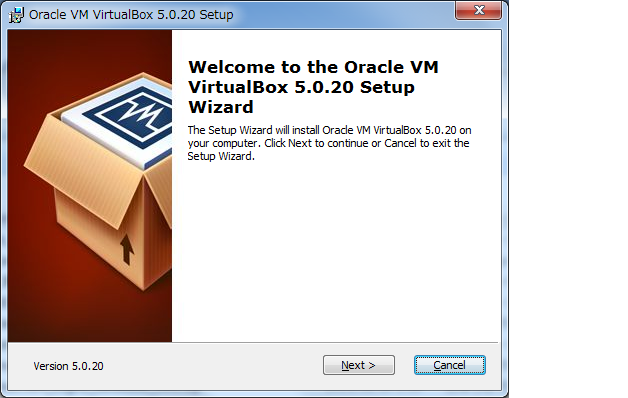
Windowsの場合
下記サイトからVirtualBoxのインストーラ(VirtualBox-5.0.20-106931-Win.exe)を入手する
https://www.virtualbox.org/wiki/Downloads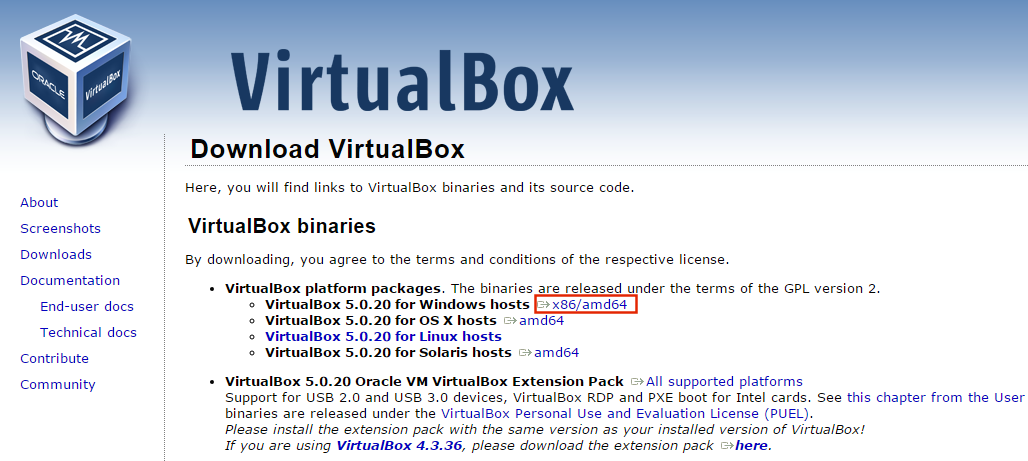
インストーラを実行し、以下手順でインストールを行う
[Next]ボタンをクリック
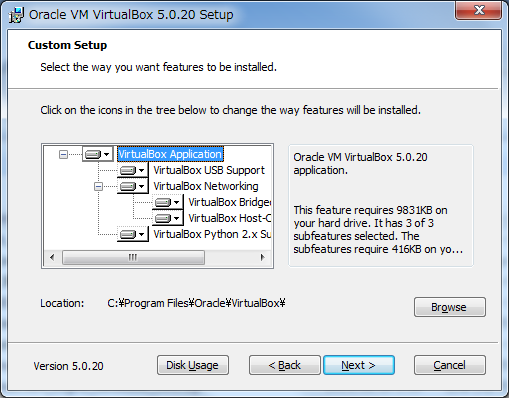
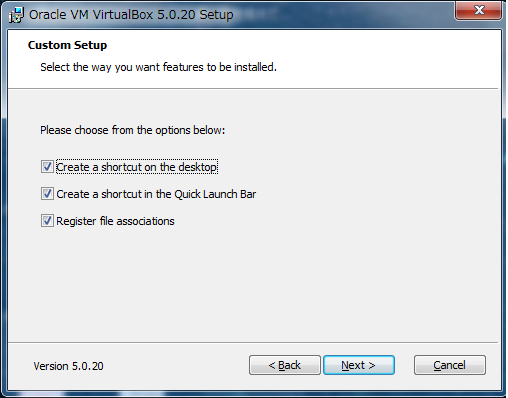
任意でチェックを入れ(特になければデフォルトのまま)、[Next]ボタンをクリック
デフォルトのまま[Next]ボタンをクリック
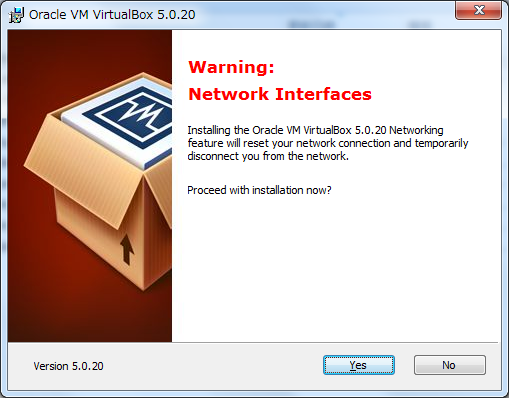
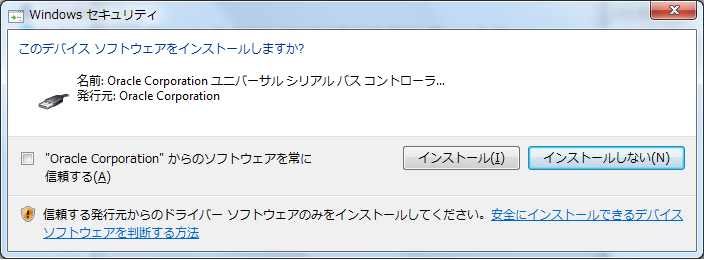
[Yes]ボタンをクリック(一時的にネットワークが切断されます)
[Install]ボタンをクリック
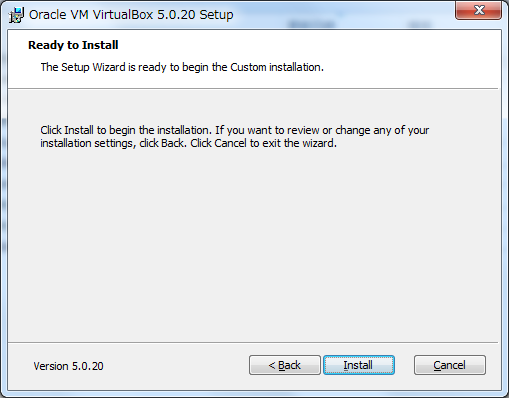
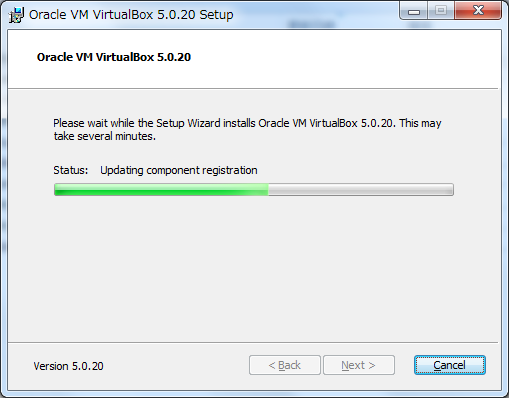
インストールが始まります
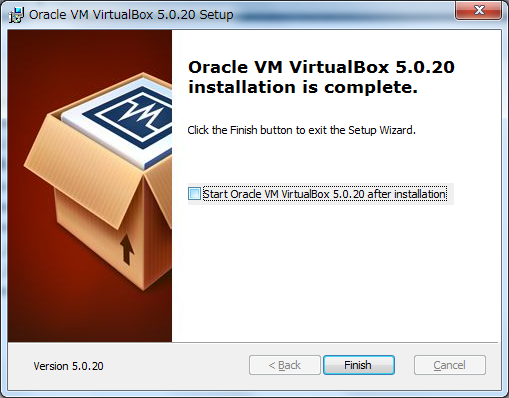
[インストール]ボタンをクリック
この時点でVirtualBoxを起動する必要はないため、"Start Oracle VM ~"のチェックを外し、[Finish]ボタンをクリック
2. Vagrant
2.1. Boxファイルの追加
コマンドプロンプトもしくはターミナルを起動し、以下手順を行う
※ 以降の作業は適当な作業用ディレクトリ作成し、そこで行うことをお勧めします。
以下コマンドを叩き、Boxファイルの追加
vagrant box add handson20160605 https://dl.dropboxusercontent.com/s/ve9ye3txpczowfl/ubuntu1404-ja-desktop-nocm-0.1.0.box以下コマンドを叩き、Boxファイルが追加されていることを確認
vagrant box listBoxファイルが正しく登録されていれば、以下のように登録したBoxファイル名が表示される
vagrant box list
handson20160605    (virtualbox, 0) # 登録したBoxファイル
hoge (virtualbox, 0)
fuga (virtualbox, 0)
2.2. Vagrantの設定を記述する
以下、コマンドを叩き、Vagrantfileのテンプレートを作成します
vagrant init handson20160605正常に処理が終了すると以下のようなメッセージが出力されます
vagrant init handson20160605
A `Vagrantfile` has been placed in this directory. You are now
ready to `vagrant up` your first virtual environment! Please read
the comments in the Vagrantfile as well as documentation on
`vagrantup.com` for more information on using Vagrant.
また、カレントディレクトリに"Vagrantfile"というファイルが作成されています。
ls # Vagrantfileが作成されているか確認。Windowsの場合、dirコマンド
Vagrantfile
Vagrantfileの編集
適当なエディタでVagrantfileを開く# -*- mode: ruby -*- # vi: set ft=ruby : # All Vagrant configuration is done below. The "2" in Vagrant.configure # configures the configuration version (we support older styles for # backwards compatibility). Please don't change it unless you know what # you're doing. Vagrant.configure(2) do |config| # The most common configuration options are documented and commented below. # For a complete reference, please see the online documentation at # https://docs.vagrantup.com. # Every Vagrant development environment requires a box. You can search for # boxes at https://atlas.hashicorp.com/search. config.vm.box = "handson20160605" # Disable automatic box update checking. If you disable this, then # boxes will only be checked for updates when the user runs # `vagrant box outdated`. This is not recommended. # config.vm.box_check_update = false # Create a forwarded port mapping which allows access to a specific port # within the machine from a port on the host machine. In the example below, # accessing "localhost:8080" will access port 80 on the guest machine. # config.vm.network "forwarded_port", guest: 80, host: 8080 # Create a private network, which allows host-only access to the machine # using a specific IP. # config.vm.network "private_network", ip: "192.168.33.10" # Create a public network, which generally matched to bridged network. # Bridged networks make the machine appear as another physical device on # your network. # config.vm.network "public_network" # Share an additional folder to the guest VM. The first argument is # the path on the host to the actual folder. The second argument is # the path on the guest to mount the folder. And the optional third # argument is a set of non-required options. # config.vm.synced_folder "../data", "/vagrant_data" # Provider-specific configuration so you can fine-tune various # backing providers for Vagrant. These expose provider-specific options. # Example for VirtualBox: # # config.vm.provider "virtualbox" do |vb| # # Display the VirtualBox GUI when booting the machine # vb.gui = true # # # Customize the amount of memory on the VM: # vb.memory = "1024" # end # # View the documentation for the provider you are using for more # information on available options. # Define a Vagrant Push strategy for pushing to Atlas. Other push strategies # such as FTP and Heroku are also available. See the documentation at # https://docs.vagrantup.com/v2/push/atlas.html for more information. # config.push.define "atlas" do |push| # push.app = "YOUR_ATLAS_USERNAME/YOUR_APPLICATION_NAME" # end # Enable provisioning with a shell script. Additional provisioners such as # Puppet, Chef, Ansible, Salt, and Docker are also available. Please see the # documentation for more information about their specific syntax and use. # config.vm.provision "shell", inline: <<-SHELL # sudo apt-get update # sudo apt-get install -y apache2 # SHELL end以下のように書き変える
# -*- mode: ruby -*-
# vi: set ft=ruby :

Vagrant.configure(2) do |config|
 # Boxファイルの指定
 config.vm.box = "handson20160605"
 # ネットワークの設定
 config.vm.network "private_network", ip: "192.168.10.200"
 # プロバイダの設定
 config.vm.provider "virtualbox" do |vb|
   vb.gui = true
 end
 # プロビジョニングの設定。今回はシェルスクリプトを利用
 config.vm.provision "shell", inline: <<-SHELL

   # ファイアウォールの設定
   sudo DEBIAN_FRONTEND=noninteractive apt-get install -y iptables-persistent
   sudo iptables -A INPUT -m state --state NEW -p tcp --dport 80 -j ACCEPT
   sudo iptables -A INPUT -p icmp -j ACCEPT
   sudo iptables -L
   service iptables-persistent save

   # Node.jsと関連ソフトのインストール
   curl -sL https://deb.nodesource.com/setup_4.x | sudo -E bash -
   sudo apt-get install -y nodejs
   sudo npm update -g npm
   sudo npm install -g node-inspector

   # Redisのインストール
   sudo add-apt-repository -y ppa:chris-lea/redis-server
   sudo apt-get update
   sudo apt-get install -y redis-server

   # Hubotおよび関連ソフトのインストール
   sudo npm install -g hubot coffee-script yo generator-hubot

   # Bable(トランスパイラ)のインストール
   sudo npm install -g babel-cli

   # Chromeのインストール
   sudo wget -q -O - 'https://dl-ssl.google.com/linux/linux_signing_key.pub' |
   sudo apt-key add -
   sudo sh -c 'echo "deb [arch=amd64] http://dl.google.com/linux/chrome/deb/ stable main" >> /etc/apt/sources.list.d/google.list'
   sudo apt-get update
   sudo apt-get install -y google-chrome-stable
 SHELL
end
2.3. プロバイダの起動
vagrant up
vagrant up が実行されると仮想マシンの起動とプロビジョニングが実行される。
なお、プロビジョニングが実行されるのは初めてvagrant up された時のみ。
vagrant up
Bringing machine 'default' up with 'virtualbox' provider...
==> default: Importing base box 'handson20160605'...
==> default: Matching MAC address for NAT networking...
〜〜〜〜〜〜〜〜〜〜〜〜〜〜〜中略〜〜〜〜〜〜〜〜〜〜〜〜〜〜〜
==> default: update-alternatives:
==> default: /usr/bin/google-chrome (google-chrome) を提供するために 自動モード で /usr/bin/google-chrome-stable を使います
==> default: libc-bin (2.19-0ubuntu6.7) のトリガを処理しています ...
2.4. Vagrantの基本コマンドまとめ
Vagrantfileの初期化
vagrant init [box name]
vagrant init で行われるのは、Vagrantfileテンプレートの作成だけなので、Vagrantfileが事前に用意できているのであれば、vagrant init は必須ではない。
Boxファイルの追加
vagrant box add [box name] [URI | PATH]
Boxファイルの一覧を表示
vagrant box list
Boxファイルの削除
vagrant box remove [box name] [provider]
プロバイダの起動
vagrant up
プロバイダのシャットダウン
vagrant halt
プロバイダの再起動
vagrant reload
※ vagrant halt して vagrant up するのと同じです
プロバイダの破棄
vagrant destroy
ヘルプ表示
vagrant -h
サブコマンドのヘルプ表示
vagrant box -h
バージョン確認
vagrant -v